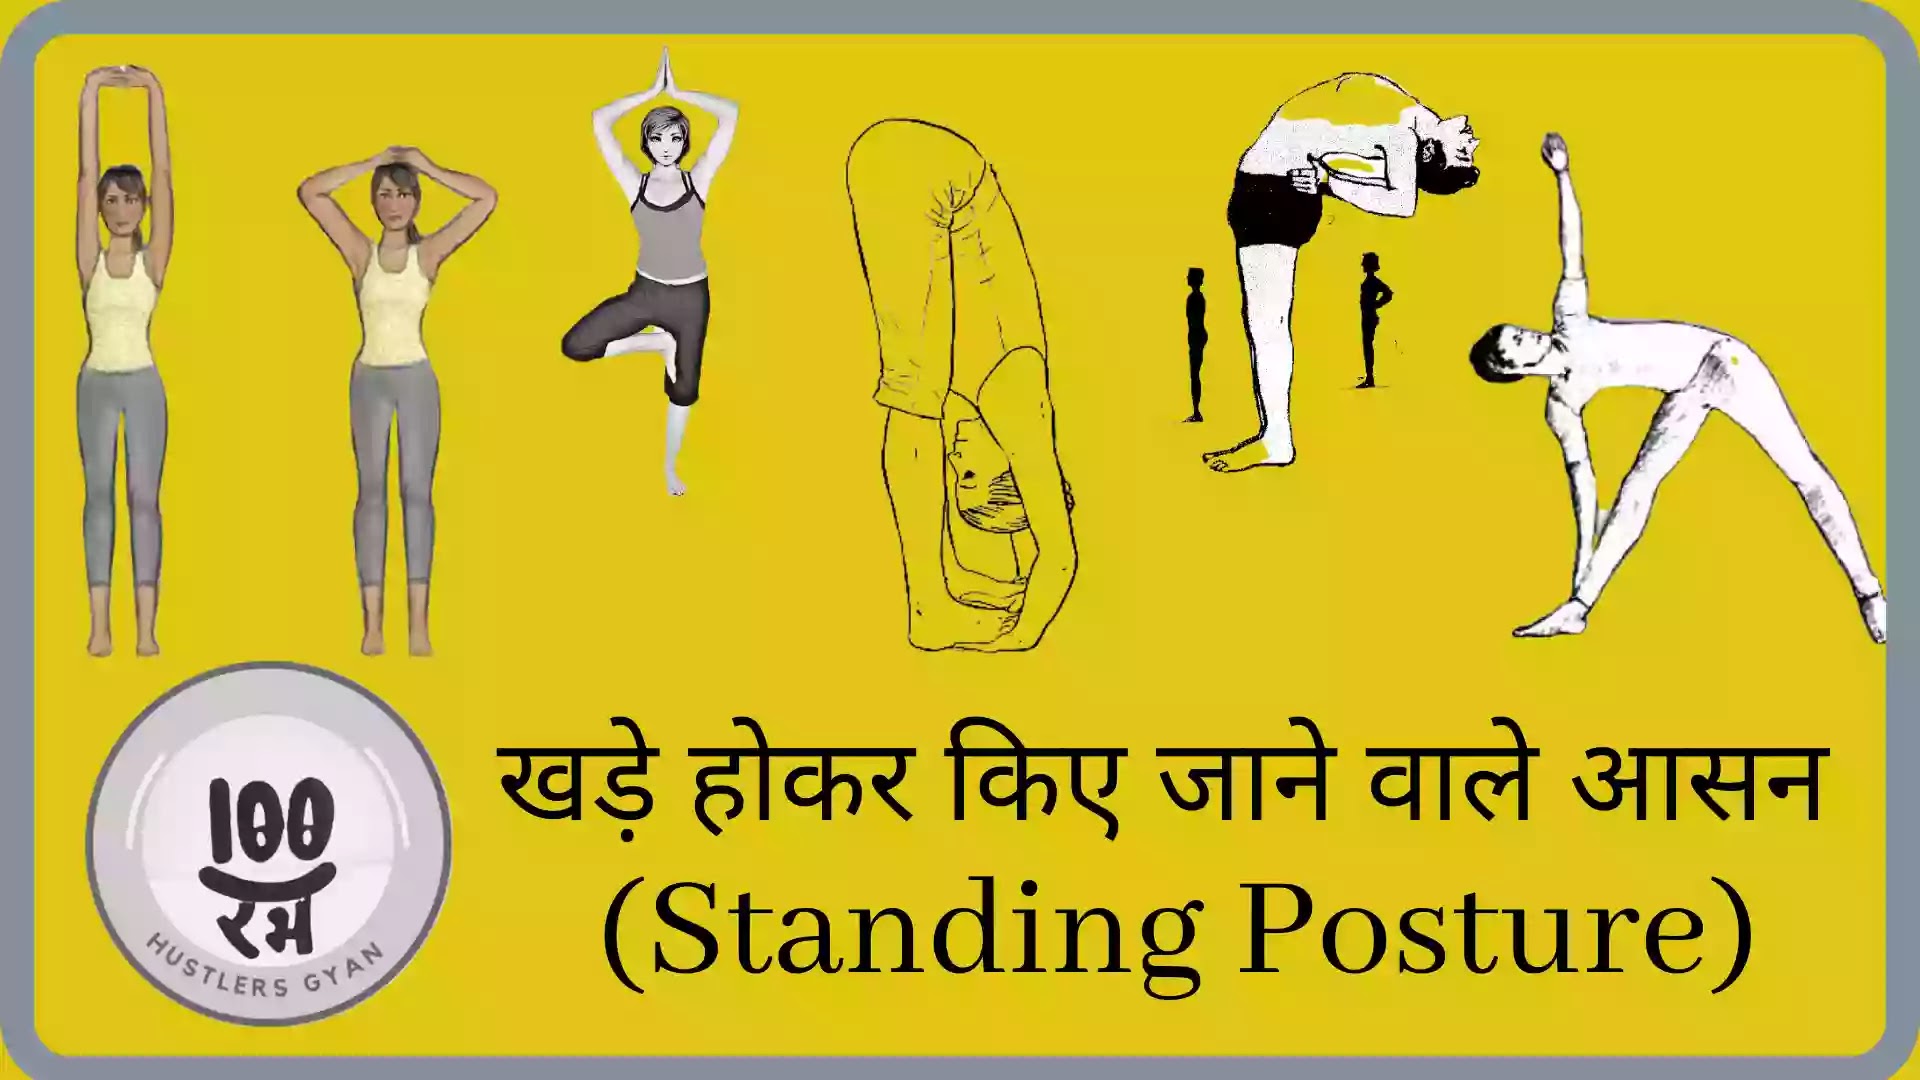
(Part-2)
Hello friends, in today's post, we will know about some of the initial yoga postures, its rules and benefits. So let's start ...
3. YOGĀSANAS
TĀḌĀSANA (Palm Tree Posture)
Tāḍa means palm tree or mountain.
This asana teaches one to attain stability and firmness and forms the base for all the standing asana.
 |
| Tadasana |
Technique
- Stand with feet 2 inches apart.
- Interlock the fingers, and turn the wrist outwards. Now inhale, raise the arms up above your head.
- Raise the heels off the floor and balance on the toes as you raise your arms. Stay in this position for 10-30 seconds.
- Bring the heels down.
- Exhale, release the interlock of the fingers and bring the arms down and come back to standing posture.
Benefits
- This āsana brings stability in the body, helps to clear up congestion of the spinal nerves and corrects faulty posture.
- Helps to increase height up to a certain age.
- Avoid lifting the heals in case of acute cardiac problems, varicose veins and vertigo.
VṚKṢĀSANA (The Tree Posture)
Vṛkṣa means tree. The final position of this āsana resembles the shape of a tree, hence the name.
 |
| Vrakshasana |
Technique
- Stand with feet 2 inches apart.
- Focus on a point in front.
- Exhale, hold and bend the right leg then place the foot on the inner side of the left thigh. The heel should be touching the perineum region.
- Inhale and extend the arms up and join the palms together for Namaskar Mudra.
- Stay in the position for 10 to 30 seconds and breathe normally.
- Exhale bring the arms down. Release the right leg and bring it to initial position.
- Repeat this āsana from the left side also.
- Helps to improve neuro-muscular coordination, balance, endurance, alertness and concentration.
- It tones up the leg muscles and rejuvenates the ligaments.
A word of caution
- Please avoid this practice in case of arthritis, vertigo and obesity.
PĀDA-HASTĀSANA (The Hands to Feet Posture)
Pāda means feet, hasta means hands. Therefore, Pāda Hastāsana means keeping the palms down towards the feet. This is also referred as Uttānāsana.
 |
| Pada hastasana |
Technique
- Stand straight with feet 2 inches apart.
- Inhale slowly and raise the arms up.
- Stretch up the body from the waist.
- Exhale and bend forward until both palms rest on the ground.
- Stretch the back, to make it straight as much as possible.
- Maintain this final posture for 10-30 seconds with normal breathing.
- Those who are suffering with stiff back should bend according to their capacity.
- Now inhale, come up slowly to the upright position and stretch the arms straight above the head.
- Exhale, slowly return to the starting position in the reverse order.
- Relax in Samasthiti.

Pada hastasana
Benefits
- Makes the spine flexible, improves digestion, prevents constipation and menstrual problems.
A word of caution
- Please avoid this practice in case of cardiac disorders, vertebral and disc disorders, abdominal inflammation, hernia and ulcers, glucoma, myopia, vertigo and during pregnancy.
Ardha means half.Cakra means wheel. In this posture, as the body takes the shape of a half wheel, hence it is called Ardha Cakrāsasna.
Technique
- Support the back at the sides of the waist with the fingers.
- Try to keep the elbows parallel.
- Drop the head backwards stretching the neck muscles.
- As you inhale, bend backwards from the lumbar region; exhale and relax.
- Stay here for 10-30 seconds with normal breathing.
- Inhale and slowly come up.
Benefits
- Ardha Cakrāsana makes the spine flexible and strengthens the spinal nerves.
- Strengthens the spinal muscles, and improves breathing capacity.
- Helps in cervical spondylosis.
A word of caution
- Avoid this posture in case of vertigo or a tendency to giddiness.
- Hypertensive patients should bend with care.
TRIKONĀSANA (The Triangle Posture)
Trikoṇā means triangle. Tri means three and koṇa means an angle. As the āsana resembles the triangle made by the trunk, arms and legs, hence the name Trikoṇāsana.
Technique
- Stand with your feet with 3 feet apart.
- Inhale slowly raise both the arms sideways upto shoulder level.
- Turn the right foot towards right side.
- Exhale, slowly bend to the right side and place the right hand just behind the right foot.
- The left arm straight in line the right arm.
- Turn the left palm forward.
- Turn your head and gaze at the tip of the left middle finger.
- Remain in the posture for 10-30 seconds with normal breathing.
- Inhale, slowly come up.
- Repeat the same procedure from the left side.
Benefits
- Prevents flat foot.
- Strengthens calf, thigh and waist muscles.
- Makes the spine flexible, improves lungs capacity.
- Found beneficial in the management of lumber spondylosis.
A word of caution
- Avoid this posture in case of slipped disc, sciatica, and after undergoing abdominal surgery.
- Do not try beyond limits and over do the lateral stretch.
- If one cannot touch the feet, one can reach for the knees instead.
Part- 3 : Click Here
I hope you have liked and understood all the information we have given in this post today. So keep learning and wait for the next post which will help you learn something new.
Thank you so much for reading. And take care of yourself and your family.


.jpg)


0 Comments